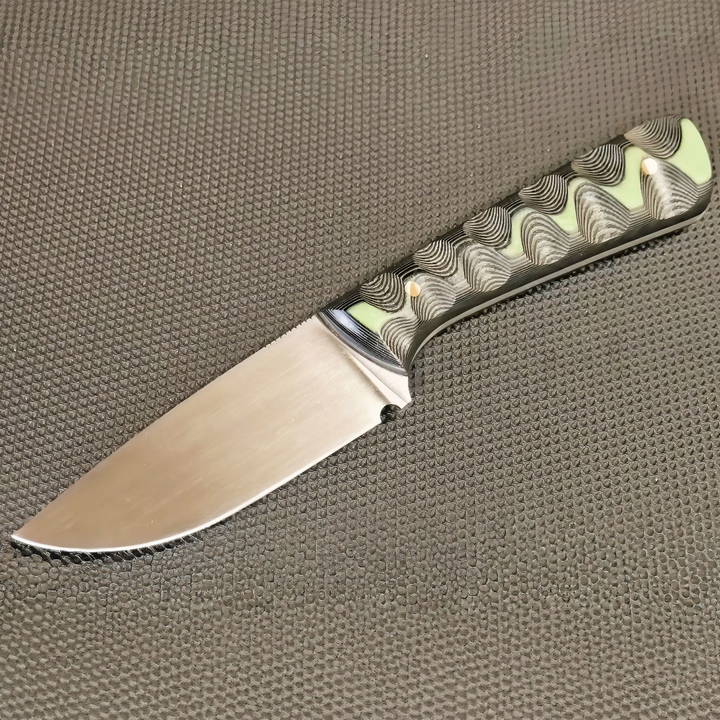
Learn how to make a knife with this beginner's guide. Follow these step-by-step instructions on materials, tools, and techniques for your first knife project. Whether you're a novice looking to make your first blade or a hobbyist eager to learn a new skill, this guide will walk you through the entire process. From choosing the right steel to shaping the handle, I'll provide a comprehensive step-by-step guide to making a knife with limited tools.
Tools and Materials You'll Need
Before starting, gather all the necessary tools and materials to make your knife. Some of these items might be available in your workshop, while others can be sourced from local hardware stores or online.
Materials:
- Steel for the blade: For beginners, 1084 steel is a great choice due to its ease in heat treatment and availability.
- Handle material: Popular options include G10, Micarta, or stabilized wood.
- Epoxy: G-Flex epoxy is recommended for bonding the handle scales to the tang.
- Brass or steel pins: Typically 1/8 inch in diameter for securing the handle.
Tools:
- Hacksaw or angle grinder: For cutting the steel.
- Files: Both flat and half-round files are useful for shaping the blade and handle.
- Drill or drill press: To drill holes in the tang for the handle pins.
- Sandpaper: Grits ranging from 120 to 600 for finishing the blade and handle.
- Clamps: For holding the knife together during the handle glue-up.
- Heat source: A propane torch or a small forge for heat treating the blade.
- Quenching oil: Canola oil works fine for heat treating.
Now that you have your tools and materials, let's dive into the process.
Step by Step Instructions
Learn how to make a knife step by step, from choosing steel to finishing the blade. Perfect for beginners and hobbyists.
Step 1: Choosing and Preparing the Steel
Choose and prepare the perfect steel for your knife. Learn about selecting the steel, designing the knife, and cutting the steel effectively.
Selecting the Steel
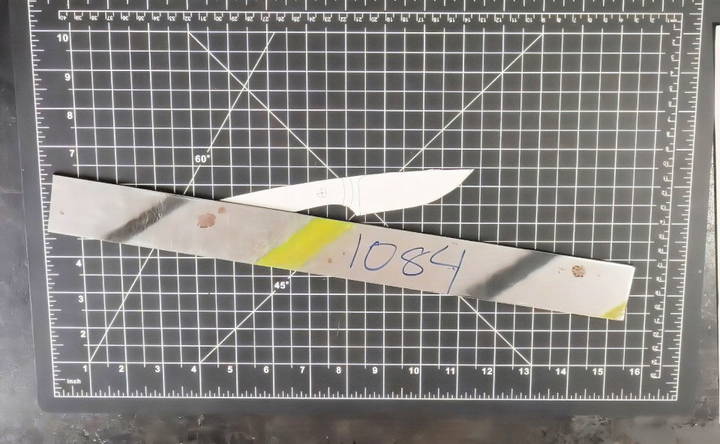
For your first knife, I highly recommend using 1084 steel. This type of steel is not only easy to heat treat at home, but it's also forgiving for beginners. Aim for a piece that is 1.5 inches wide and 1/8 inch thick. This size is manageable and provides a solid base for a durable blade.
Designing the Knife
Once you've selected your steel, the next step is to design the profile of your knife. You can trace a template onto the steel or draw a design freehand. A simple drop-point design is a good starting point for beginners.
Cutting the Steel
You have several options when it comes to cutting out the knife's profile:
- Hacksaw: A hacksaw is an affordable option but can be time-consuming and labor-intensive.
- Angle grinder: Using a 4.5-inch angle grinder is faster and more efficient. Be cautious when using it, as it can remove too much material quickly.
- Drilling method: Another technique is drilling holes around the outline of the knife and then cutting between the holes with a hacksaw or Dremel tool. The remaining ridges can be filed down.
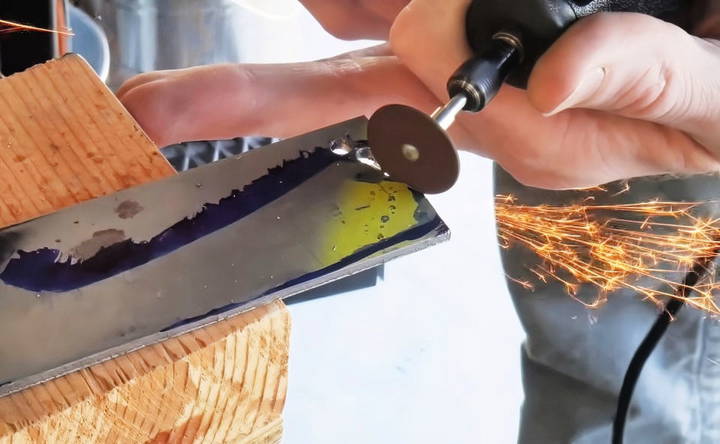
Once you have the rough shape, use files to refine the profile. This step requires patience, but it will ensure that your knife has a clean, well-defined shape.
Step 2: Drilling the Handle Holes
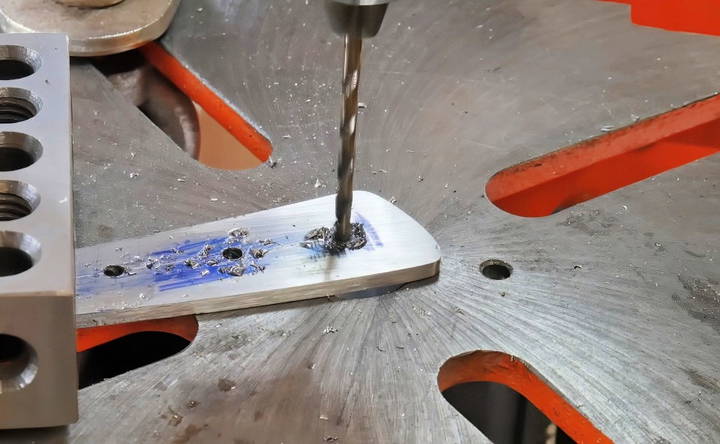
With the blade profiled, you'll need to drill holes in the tang where the handle scales will be attached. Here's how:
- Mark the holes: Use a sharpie or marking fluid to draw the centerline of the tang. Mark the location of your pin holes at both ends of the tang.
- Drill the holes: Use an 1/8 inch drill bit to make the holes. If you have access to numbered bits, a #30 drill bit will provide a little extra clearance for the pins.
- Additional holes: Drill extra holes in the tang for weight reduction and to allow the epoxy to flow between the handle scales.
A hand drill will suffice, but if you have access to a drill press, it's the superior option for straight and precise holes.
Step 3: Filing the Bevels
The bevel is the sloped area that leads to the knife's cutting edge. Filing the bevels is a crucial step in making a functional knife.
Marking the Bevels
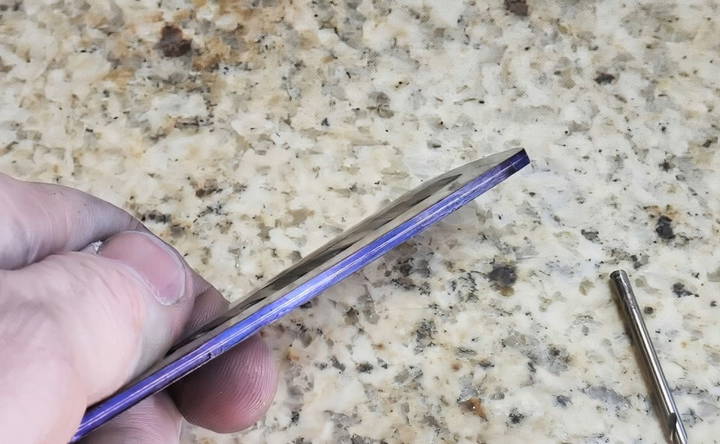
Before filing, you'll need to mark your centerline and bevel lines. The centerline ensures that the edge is symmetrical, while the bevel lines help guide your filing. You can do this using:
- A center scribe tool: This helps in marking a clean, consistent centerline along the blade's edge.
Filing Technique
Filing bevels by hand is time-consuming but rewarding. Here's how to do it:
- Start at a 45-degree angle: Begin by filing an aggressive 45-degree angle on both sides of the blade until the edge meets the centerline.
- Reduce the angle: Once the initial angle is established, gradually decrease the angle to form new facets. This will smooth out the bevel and push it toward the spine of the blade.
- Plunge lines: Be careful to keep your plunge lines symmetrical. A chainsaw file can help define the plunge lines, and you can later refine them with a flat file.
This process can take several hours depending on the size of the blade, but it's crucial for building a sharp and functional knife.
Step 4: Heat Treatment
Heat treatment is what gives the knife its hardness and durability. To perform a basic heat treatment, follow these steps:
Building a Simple Forge
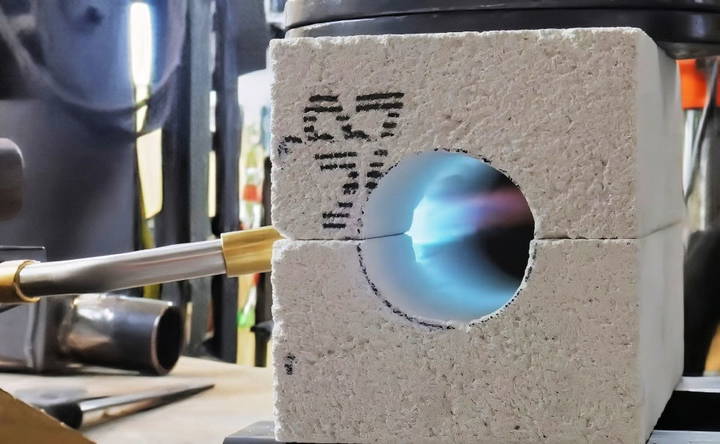
For a home-built option, you can make a two-brick forge. This consists of two soft fire bricks with a chamber cut out in the middle. It's an inexpensive and easy-to-make solution for heating your blade.
Heating the Blade
- Heat the blade until non-magnetic: Heat the blade evenly until it no longer attracts a magnet. This indicates that the steel is at the right temperature for quenching.
- Quench in oil: Quickly quench the heated blade in canola oil or a specialized quenching oil like Parks 50. Keep the blade moving in the oil to prevent warping.
Testing the Hardness
After quenching, test the hardness by running a file along the blade's surface. If the file “skates” across the surface, the blade is properly hardened. If it bites into the steel, you'll need to reheat and quench the blade.
Tempering the Blade
The final step in heat treating is tempering, which reduces the brittleness of the hardened steel. Place the blade in a preheated oven at 410°F (210°C) for two 2-hour cycles, allowing it to cool between cycles.
Step 5: Refining and Finishing the Blade
With the blade hardened, the next step is to refine and polish the surface. This involves:
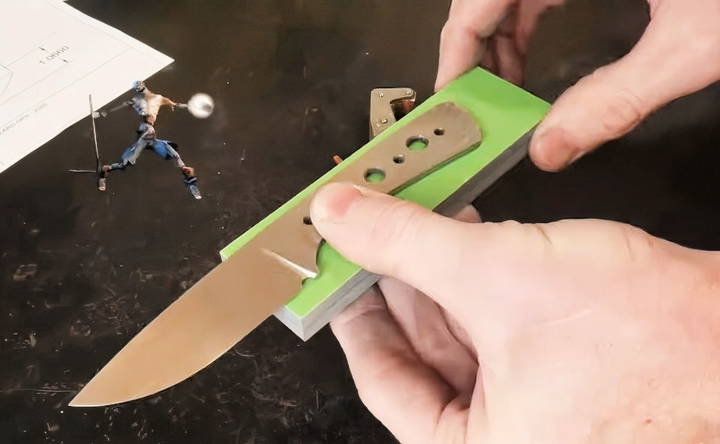
- Flattening the tang: Use a piece of sandpaper on a flat surface (like glass or granite) to ensure that the tang is flat for attaching the handle scales.
- Sanding the blade: Start with 120 grit sandpaper and work your way up to finer grits (up to 600 or more, depending on your desired finish). For a satin finish, aim for a 600 grit polish.
Step 6: Attaching the Handle
Now it's time to attach the handle scales. Here's how to do it:
- Choose your handle material: G10, Micarta, or stabilized wood are great options. For this demonstration, let's use G10.
- Drill the handle scales: Use the tang as a template to drill matching holes through the scales for the pins.
- Glue-up: Apply a generous amount of epoxy to both the tang and the inside of the handle scales. Insert the pins through the holes and clamp the assembly. Be careful not to over-clamp, as this could squeeze out too much epoxy, weakening the bond.
Allow the epoxy to cure for at least 24 hours.
Step 7: Shaping and Finishing the Handle
Once the epoxy has cured, you can begin shaping the handle:
- Trim the excess material: Use a hacksaw or angle grinder to cut off the excess handle material.
- Shape the handle: Files and sandpaper will help you shape the handle to a comfortable contour. Start with coarse files and gradually move to finer grits of sandpaper.
- Finish the handle: Sand the handle to your desired smoothness. Most makers stop at 320 grit, but you can go up to 600 for a finer finish.
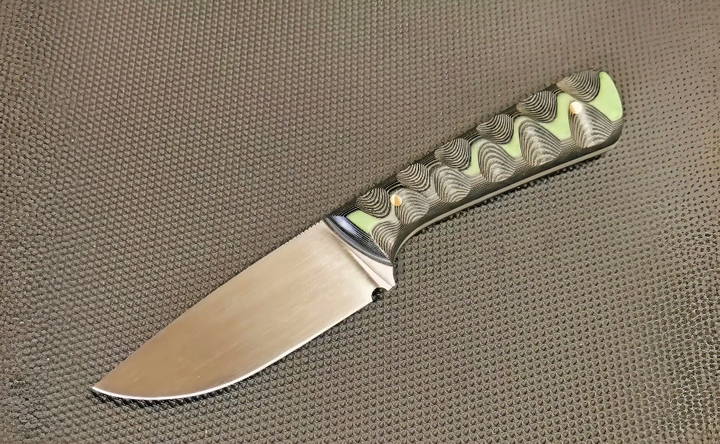
Step 8: Sharpening the Blade
The final step is sharpening the blade. You can use a variety of methods, including:
- Whetstones: For a traditional, razor-sharp edge.
- Belt sander: For quick and efficient sharpening (if you have access to one).
- Diamond stones: A faster method that offers precision.
Finish the process by stropping the blade on leather to remove any burrs and refine the edge.
Conclusion
Making your first knife is a time-consuming but deeply rewarding process. By following this guide, you've learned how to turn a simple piece of steel into a functional tool. As with any skill, knife making gets easier with practice. Don't be afraid to experiment with different materials, designs, and techniques as you gain more experience.
FAQs About How to Make a Knife
Discover essential FAQs about how to make a knife, covering techniques, materials, and tools for crafting your perfect blade.
For beginners, 1084 steel is highly recommended. It is easy to heat treat at home and forgiving in the quenching process. It's affordable and offers a good balance between hardness and durability.
Yes, reclaimed materials like old saw blades or leaf springs can work if you're on a budget. However, keep in mind that the heat treating process may vary, and these materials can be unpredictable in terms of quality and consistency.
No, you can use a simple propane torch or build a two-brick forge. The two-brick forge is an affordable and easy-to-build option that retains heat well enough for basic knife heat treatment.
You can use a center scribe tool or even a sharpie and a ruler to draw your bevel lines. Ensuring you have accurate bevel lines is crucial to achieving symmetry when filing or grinding the blade.
Drill holes through the tang and handle material, then use epoxy and pins to secure the handle. Be sure not to over-clamp during the glue-up process, as this can squeeze out too much epoxy and weaken the bond.
Yes, a kitchen oven works for tempering. Heat the blade at 410°F for two cycles, each lasting two hours. Ensure the oven reaches the right temperature before starting.
You can use a hacksaw for manual cutting or a 4.5-inch angle grinder for quicker results. An angle grinder is versatile and speeds up the profiling process, but be cautious not to remove too much material too fast.
Be cautious with materials like Micarta, which can burn easily. A rasp or files work well for shaping without generating excessive heat. Alternatively, an angle grinder with a flap disk can be used carefully.
After quenching, clamp the knife between two pieces of angle iron to hold it straight while cooling. This minimizes warping during the heat treatment process.
Yes, tempering should follow immediately after quenching once the blade has cooled down. It relieves internal stresses caused by the rapid cooling and adds toughness to the hardened steel.
You can use whetstones, a belt sander, or diamond stones for sharpening. Stropping with a piece of leather afterward will help remove burrs and refine the edge for a sharp, polished finish.


