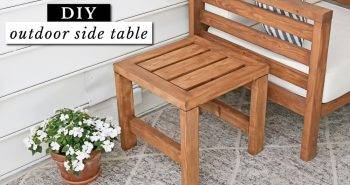
Building a side table from scratch seemed like a challenging endeavor at first. I had basic woodworking tools, a sprinkle of enthusiasm, and zero experience. However, with careful study and patience, I embarked on this journey, making not just a piece of furniture but a story of craftsmanship I am keen to share with you.
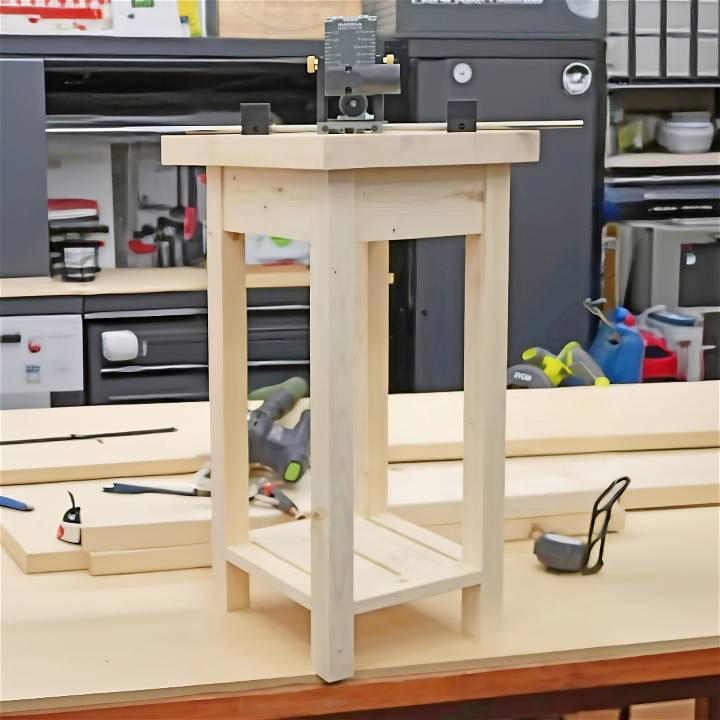
Materials Needed
- Common Spruce 1x4s: Chosen for their affordability and accessibility. These would form the legs and the top aprons of the table.
- Pocket Hole Jig: Essential for joining the pieces without visible screws. My choice was driven by durability and ease of use.
- Circular or Miter Saw: For cutting the wood to the desired lengths.
- Drill and Drill Bits: Needed for making the pocket holes and assembling the pieces.
- Screws and Wood Glue: For securing the joints strongly together.
- Router (Optional): For rounding the edges and giving the table a finished look.
- Sandpaper: To smooth out any rough edges and ensure the finished product feels pleasant to the touch.
Step by Step Instructions
Learn how to build your own DIY side table with step-by-step instructions. Measure, cut, assemble, and finish for a beautiful piece of furniture.
Step 1: Measuring and Cutting the Wood
First, I measured and cut the 1x4s to build four legs at 24.5 inches long and four aprons at 8 inches long. Precision is key here; ensuring all pieces are equally sized prevents a wobbly table.
Step 2: Preparing for Pocket Hole Joinery
The importance of avoiding knots when drilling can’t be overstated. They can cause the wood to split. I marked and drilled pocket holes in my aprons, adjusting the pocket hole jig to the thickness of the material I was working with, which in this case was three-quarters of an inch. I found this careful setup was crucial for a clean, strong join.
Step 3: Assembling the Table Frame
Using wood glue and screws, I began assembling the frame, starting with attaching the aprons to the legs. The trick here was to clamp the pieces tightly before driving in the screws to prevent them from shifting. I opted for a quarter-inch inset of the aprons from the legs for a more refined look.
Step 4: Adding the Table Top
For the top, I joined several 1×6 boards, cut to length, using pocket holes. The top’s assembly was similar to the frame, with an emphasis on ensuring everything remained square and flush while attaching.
Step 5: Finishing Touches
After the assembly, I rounded the edges with a router, sanded everything smooth, and applied a finish. These final touches not only protected the table but also highlighted the wood’s natural beauty.
Upcycling Tips for Your DIY Side Table
Making a DIY side table not only adds a personal touch to your home but also offers an opportunity to be environmentally conscious. Upcycling, the process of transforming by-products, waste materials, or unwanted products into new materials or products, is a fantastic way to reduce waste. Here’s how you can incorporate upcycling into your DIY side table project.
Choosing Materials
Look for materials that can be repurposed:
- Old furniture pieces like drawers or shelves can become parts of your new table.
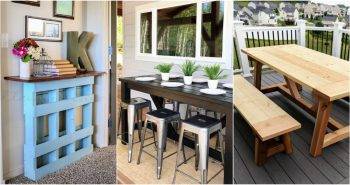
- Reclaimed wood, such as pallets or old barn wood, adds character and history.
- Metal items like pipes or fittings can serve as legs or frames.
Designing with Upcycled Materials
Be creative with your design:
- Combine different materials for a unique look.
- Preserve the original character of the material, like keeping the rustic look of wood.
- Adapt the size and shape of your table based on the materials available.
Preparing Materials
Prepare your materials for a new life:
- Clean all items thoroughly before use.
- Sand down wood to remove splinters or rough edges.
- Treat metal with rust remover or protector if necessary.
Assembly Tips
Assemble with care:
- Use appropriate fasteners for different materials, like screws for wood or bolts for metal.
- Ensure stability by testing the structure as you build.
- Keep the design simple to highlight the upcycled materials.
Finishing Touches
Add finishing touches:
- Apply a coat of paint or stain if you want a uniform look.
- Seal wood to protect it from wear and tear.
- Leave some elements in their natural state for an authentic feel.
By following these tips, you’ll build a side table that’s not just functional but also tells a story. It’s a conversation starter that showcases your commitment to sustainability and your flair for creative design.
Troubleshooting Common Issues
When embarking on a DIY side table project, you might encounter a few hiccups along the way. Here’s a helpful guide to troubleshooting common issues, ensuring your project stays on track.
Problem: Wood Splitting
Cause: Often due to drilling too close to the edge or using screws that are too large.
Solution:
- Pre-drill holes to prevent splitting.
- Use the correct size of screws.
- Clamp the wood firmly when joining pieces.
Problem: Uneven Legs
Cause: Inaccurate measuring or cutting can lead to a wobbly table.
Solution:
- Measure twice, cut once.
- Use a spirit level to check evenness.
- Trim the legs carefully to equalize.
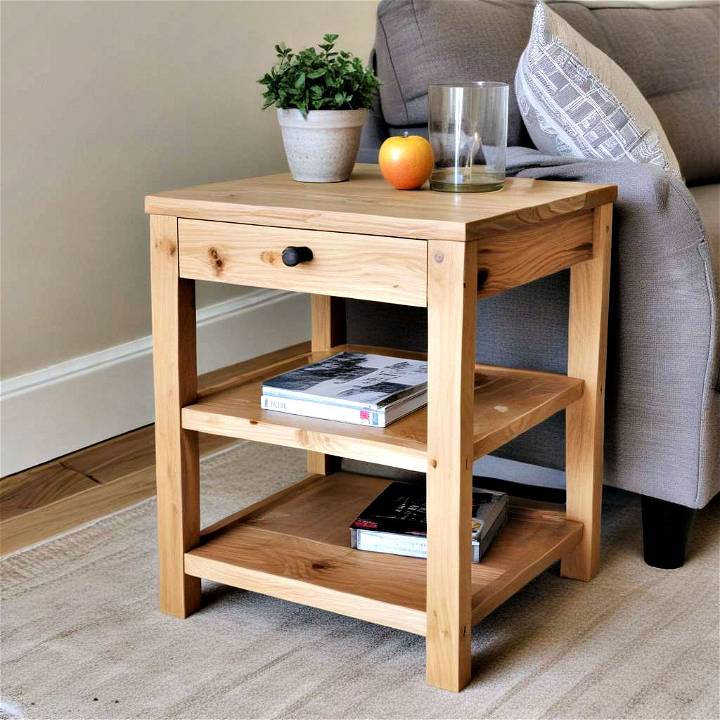
Problem: Sticking Drawers
Cause: Swelling of wood or tight fit can make drawers hard to open.
Solution:
- Sand the edges for a smoother glide.
- Apply a lubricant like wax or soap.
- Ensure proper alignment during assembly.
Problem: Weak Joints
Cause: Insufficient glue, incorrect joint types, or not enough clamping pressure.
Solution:
- Apply glue generously and evenly.
- Choose stronger joints like dovetails for heavy loads.
- Use clamps to secure until fully dried.
Problem: Finish Flaws
Cause: Dust particles or uneven application of stain/paint.
Solution:
- Clean the area thoroughly before finishing.
- Apply thin, even coats of finish.
- Sand lightly between coats if necessary.
Remember, patience and attention to detail are key in DIY projects. Don’t rush the process, and take the time to do things right. With these tips, you’ll be able to tackle common issues and build a side table you’re proud of.
Conclusion: Embrace the Process
This project taught me several valuable lessons. Among them was the importance of precision in measuring and cutting, the strength and simplicity pocket hole joinery offers, and the satisfaction of making something tangible with my hands. My side table not only serves a functional purpose but also stands as a testament to the joy of woodworking.
For anyone looking to embark on a similar project, remember patience and precision are your best assets. Each step, from selecting materials to the final sanding, contributes to the project’s success. Woodworking is not just about building furniture—it’s about crafting stories, experiences, and maybe, like me, discovering a new passion.


