I’ve always been a bit of a tech enthusiast, especially when it comes to building my own systems. From assembling PCs to tinkering with Raspberry Pis, I’ve done my fair share of DIY projects. However, when LattePanda announced the SIGMA model with its impressive specs, I knew I had found the heart for my next project – a powerful, compact DIY NAS (Network Attached Storage).

Why LattePanda SIGMA?
LattePanda has always stood out by integrating full-fledged x86 CPUs into small form factors, and the SIGMA model is no different. With a 12-core Intel i5 processor, 16GB DDR5 memory, and multiple M.2 slots, it was clear that SIGMA wasn’t just another mini PC – it was a robust platform ripe for a NAS setup. But before diving into the build, let’s talk about the materials and why they’re necessary.
Materials Needed for the Build
- LattePanda SIGMA: The heart of the project, capable of running full-fledged operating systems with significant processing power and RAM.
- M.2 SSDs and SATA HDDs: For the NAS storage, utilizing the onboard M.2 slots for fast SSDs and SATA ports for capacity HDDs.
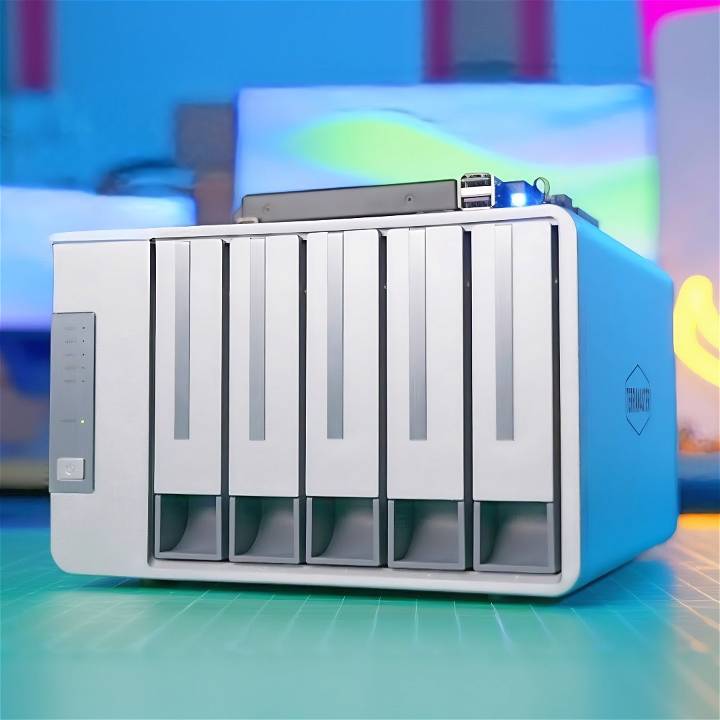
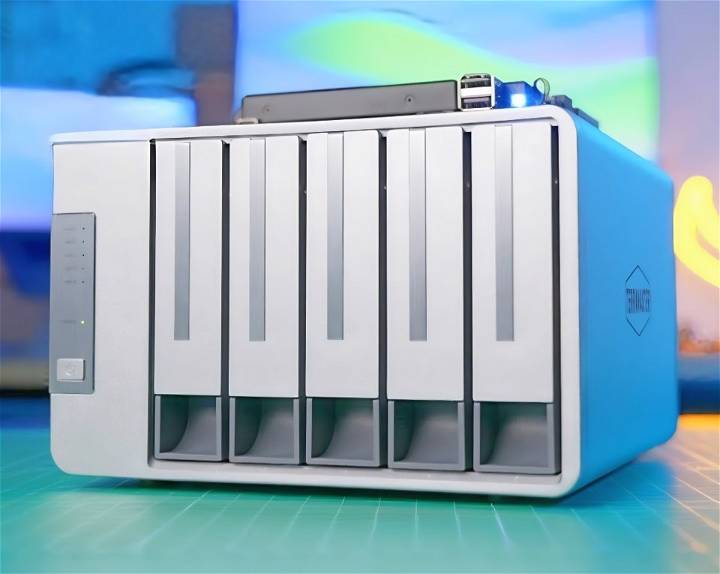
- Thunderbolt DAS Enclosure: To expand storage via Thunderbolt, providing high-speed data access.
- Power Supplies and Cables: To ensure stable power to both the SIGMA board and any external enclosures.
- Cooling Solutions: Given the compact nature, adequate cooling to keep performance optimal.
- Networking Equipment: Ensuring fast network speeds for accessing stored data.
Building the NAS
Learn how to build a NAS with the necessary materials, hardware preparation, system powering, software setup, and challenges along the way.
Preparing the Hardware
The first step was to equip the LattePanda SIGMA with storage. I opted for one NVMe SSD for the operating system and applications, and several SATA HDDs for the bulk storage of files. The M.2 slots on the SIGMA made installing the SSDs a breeze, while the SATA port connected to the HDDs housed in the Thunderbolt DAS enclosure.
Powering the System
Given the compact nature of the setup, managing power distribution was crucial. I used a Y-splitter for the power supply to feed both the SIGMA board and the Thunderbolt enclosure from a single source. This not only simplified cable management but also ensured a tidy setup.
Setting Up the Software
With the hardware ready, the next phase was to install the operating system. While many might opt for popular choices like Unraid or FreeNAS, I decided to go with Proxmox VE due to its flexibility in running virtual machines and containers – crucial for experimenting with different NAS software configurations.
Proxmox VE Installation
Installing Proxmox on the LattePanda SIGMA was straightforward. The onboard M.2 SSD provided a swift and responsive platform for Proxmox, and once installed, the web-based management interface made configuring network and storage resources simple.
Virtualizing Unraid with Proxmox
Although my initial plan didn’t include virtualizing Unraid, curiosity got the better of me. I set up an Unraid VM within Proxmox to explore how well it would perform under virtualization. Passing through the Thunderbolt-controlled SATA drives to Unraid was a novel and educational process, shedding light on the versatility and power of Proxmox as a hypervisor.
The Experiment with Thunderbolt Networking
One of the most exciting aspects of this project was exploring Thunderbolt networking. Connecting the LattePanda SIGMA to my MacBook via Thunderbolt yielded impressively fast network speeds, surpassing traditional 10GbE connections. This setup showcased Thunderbolt’s potential beyond just external storage, opening up avenues for ultra-fast, direct computer-to-computer networking.
Challenges and Learnings
Throughout this project, several challenges emerged. The most significant was managing the Thunderbolt DAS’s power cycling and device recognition issues. It took repeated efforts to get the system to recognize the enclosure after reboots or disconnections. The learning curve on setting up and troubleshooting Thunderbolt devices was steep but educational.
Cost Considerations for Building Your Own NAS
When it comes to setting up your own Network Attached Storage (NAS) system, understanding the cost implications is crucial. Let’s break down the expenses and explore how DIY NAS can save you money while providing a reliable storage solution.
1. Initial Hardware Investment
a. CPU and Motherboard
- The Heart of Your NAS: The central processing unit (CPU) and motherboard form the foundation of your NAS. Opt for budget-friendly options that still deliver solid performance. The Intel N3050 processor, for instance, is an excellent choice for a basic NAS setup. It’s an 8-core, eight-thread i3 processor that comes pre-installed on a Mini-ITX board.
b. RAM (Random Access Memory)
- Sufficient but Not Excessive: While commercial NAS units often come with hefty RAM configurations, your DIY NAS can function well with 4GB to 8GB of RAM. This ensures smooth operation without unnecessary costs.
c. Storage Drives
- Balancing Capacity and Cost: Hard drives (HDDs) or solid-state drives (SSDs) constitute the bulk of your NAS budget. Consider the following:
- HDDs: Affordable and suitable for large storage capacities. Look for reliable brands like Seagate or Western Digital.
- SSDs: Faster but pricier. Use SSDs for caching or as the primary drive if your budget allows.
2. Operating System and Software
- Free and Open Source Options: Unlike commercial NAS solutions that often come with licensing fees, DIY NAS allows you to choose from free and open-source operating systems. Consider FreeNAS or OpenMediaVault.
- Software Add-Ons: Explore additional software packages for features like media streaming, backup, and remote access. Many of these are freely available.
3. Power Consumption and Long-Term Costs
- Energy Efficiency: DIY NAS systems can be designed with power efficiency in mind. Opt for energy-efficient components to keep electricity bills manageable.
- Scalability: As your storage needs grow, you can incrementally add drives or upgrade components. This flexibility prevents unnecessary upfront costs.
4. Maintenance and Upgrades
- DIY Advantage: When components age or new technologies emerge, you have the freedom to upgrade specific parts without replacing the entire NAS. This adaptability saves money in the long run.
Building your own NAS may require an initial investment, but the cost savings over time can be substantial. Plus, the satisfaction of making a customized storage solution tailored to your needs is priceless. Remember to research thoroughly, compare prices, and make informed decisions to maximize your DIY NAS budget.

Customization and Flexibility in Building Your Own NAS
When you embark on the journey of making your own Network Attached Storage (NAS), one of the most exciting aspects is the ability to customize every detail according to your specific needs. Let’s explore how customization and flexibility play a crucial role in your DIY NAS adventure.
1. Tailoring Your NAS to Fit Your Requirements
a. Component Selection
- Choose Your Hardware: Unlike pre-built NAS units, where you’re limited to the components chosen by the manufacturer, DIY NAS allows you to handpick each part. Consider the following:
- CPU: Select a CPU based on your intended use. Need a media server? Opt for a powerful processor. For basic file storage, a more modest CPU will suffice.
- Motherboard: Look for features like multiple SATA ports, expansion slots, and compatibility with your chosen CPU.
- RAM: Customize the RAM capacity based on your workload. More RAM enhances multitasking and responsiveness.
b. Storage Configuration
- Drive Types: DIY NAS lets you mix and match storage drives. You can use a combination of hard disk drives (HDDs) and solid-state drives (SSDs) to strike a balance between speed and capacity.
- RAID Levels: Choose the RAID level that suits your needs. Whether it’s RAID 1 for data redundancy or RAID 5 for a balance of performance and safety, the choice is yours.
2. Software Freedom
- Operating Systems: Commercial NAS solutions often come with proprietary operating systems. With DIY NAS, you have the freedom to choose open-source options like FreeNAS, OpenMediaVault, or even roll your own Linux-based system.
- Apps and Add-Ons: Customize your NAS functionality by installing software packages. Want a Plex media server? Install it. Need automated backups? There’s an app for that. The flexibility is unmatched.
3. Scaling Up and Down
- Start Small, Expand Later: Begin with a basic setup and add drives or upgrade components as your storage needs grow. DIY NAS allows gradual scalability without breaking the bank upfront.
- Adaptability: Life changes, and so do your storage requirements. Whether you’re adding more family photos or diving into 4K video editing, your DIY NAS can adapt.
4. A NAS That Reflects You
- Personal Touch: Building your own NAS isn’t just about storage; it’s a creative endeavor. Your NAS reflects your preferences, priorities, and style.
- Unique Use Cases: Maybe you want a NAS for home automation data, game backups, or a private cloud. Customization ensures your NAS caters to your unique use cases.
Customization and flexibility are key in DIY NAS. Tailor your NAS to fit your digital life for a one-of-a-kind storage solution.
Data Redundancy and Backup Strategies
Ensuring the safety and availability of your precious data is paramount when building your own Network Attached Storage (NAS). Let’s delve into data redundancy and backup strategies to safeguard your files and memories.
1. Understanding Data Redundancy
a. RAID Configurations
- RAID (Redundant Array of Independent Disks): RAID setups distribute data across multiple drives to enhance performance, reliability, and redundancy.
- RAID 1 (Mirroring): In this configuration, data is duplicated on two drives. If one drive fails, the other still holds a complete copy.
- RAID 5 (Striping with Parity): Requires at least three drives. Data is striped across them, and parity information is distributed. If one drive fails, the system can rebuild the lost data using parity.
b. Hot Spare Drives
- Always Prepared: A hot spare drive sits idle until another drive fails. When that happens, the hot spare automatically takes over, minimizing downtime.
2. Backup Strategies
a. Local Backups
- External Drives: Regularly back up your NAS data to external USB drives or network-attached backup devices.
- Snapshot Backups: Some NAS systems support snapshots—point-in-time copies of your data. These are invaluable for quick recovery.
b. Cloud Backups
- Offsite Protection: Cloud services like Backblaze, Amazon S3, or Google Drive provide secure offsite backups. Encrypt your data before uploading.
- Hybrid Approach: Combine local and cloud backups for comprehensive protection.
3. Scheduled Backups
- Automate the Process: Set up scheduled backups to run at specific intervals. This ensures your data is consistently backed up without manual intervention.
4. Testing Restores
- Practice Recovery: Regularly test your backup and restore processes. It’s essential to know that your backups are functional when disaster strikes.
Data redundancy and backups are your safety nets. Invest time in planning and implementing these strategies to keep your data intact, whether it’s family photos, work documents, or your favorite cat videos. Remember, redundancy isn’t redundancy until you need it!
FAQs About Building Your Own NAS (DIY NAS)
Get all your FAQs about building your own NAS answered in this comprehensive guide. Learn how to build a DIY NAS setup easily at home.
1. What Is a DIY NAS, and Why Should I Consider Building One?
Answer: A DIY NAS (Do-It-Yourself Network Attached Storage) is a storage system you build from scratch. Instead of buying a ready-made NAS, you assemble your own using components like a CPU, motherboard, hard drives, and software. Here’s why you might want to build one:
- Cost Savings: DIY NAS can be more budget-friendly than commercial options.
- Customization: Tailor it to your specific needs—whether for media streaming, backups, or file sharing.
- Learning Experience: It’s a fun project that teaches you about hardware and software.
2. What Components Do I Need for a DIY NAS?
Answer: To build a DIY NAS, gather these essential components:
- CPU and Motherboard: The brain of your NAS.
- RAM: 4GB to 8GB is usually sufficient.
- Storage Drives: Hard disk drives (HDDs) or solid-state drives (SSDs).
- NAS Case: A housing for your components.
- Operating System: Choose from options like FreeNAS or OpenMediaVault.
3. How Do I Set Up Data Redundancy?
Answer: Data redundancy ensures your data is safe even if a drive fails. Consider these methods:
- RAID 1 (Mirroring): Duplicate data on two drives.
- RAID 5 (Striping with Parity): Distribute data across multiple drives with parity information.
- Hot Spare Drives: Keep an extra drive ready to replace a failed one.
4. What Backup Strategies Should I Use?
Answer: Backups are crucial. Try these approaches:
- Local Backups: Use external drives or snapshots.
- Cloud Backups: Services like Backblaze or Google Drive offer secure offsite backups.
- Scheduled Backups: Automate regular backups.
5. Can I Upgrade My DIY NAS Over Time?
Answer: Absolutely! DIY NAS allows gradual upgrades. As your storage needs grow, add more drives or improve components. It’s adaptable and cost-effective.
6. How Do I Ensure Security for My DIY NAS?
Answer: Protect your NAS:
- User Access Controls: Limit who can access your NAS.
- Firewalls: Secure your network.
- Encryption: Encrypt data for privacy.
- Regular Testing: Practice restoring from backups to ensure they work when needed.
Remember, building a DIY NAS isn’t just about saving money—it’s about having control over your data and making a reliable storage solution tailored to your needs.
Conclusion: Worth the Effort?
Building a DIY NAS with the LattePanda SIGMA was an enriching experience. It pushed the boundaries of what’s achievable with compact computing platforms, blending the lines between mini PCs, single-board computers, and maker projects. While the cost of entry may be high compared to other solutions, the flexibility, power, and satisfaction of assembling a custom NAS tailored precisely to my needs were invaluable.
Admittedly, the project’s complexities might not appeal to everyone. For those looking for an out-of-the-box solution, plenty of commercial NAS options may prove more cost-effective and less time-consuming. However, for enthusiasts like me who revel in the challenge and customization of DIY projects, the LattePanda SIGMA-based NAS stands as a testament to what’s possible with modern mini PCs and a bit of ingenuity.


