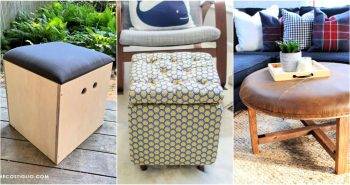
Hey everyone! So, this DIY journey started in my living room. I was stuck with an old ammo crate and a chess table masquerading as a coffee table. Inspired by a rustic-industrial aesthetic I found online, I initially thought of doubling down on the ammo crates. However, finding a matching crate turned into a wild goose chase, and my design taste evolved. Social media then introduced me to the idea of an ottoman with a coffee table built over it—classy, functional, and oh-so-stylish. But, the price tags on the ottomans I liked were sky-high, leading me to a lightbulb moment: Why not build both the ottoman and the coffee table myself?
Material Hunt
Choosing the Fabric
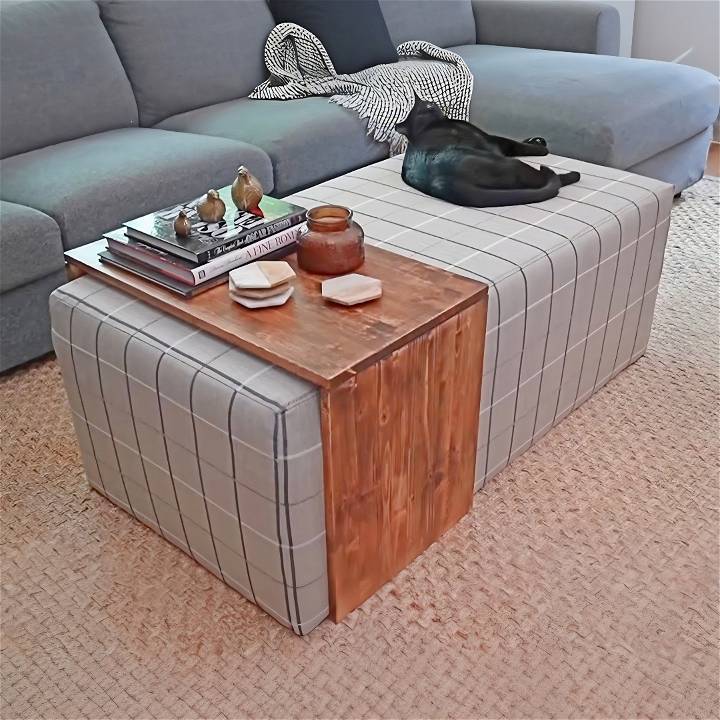
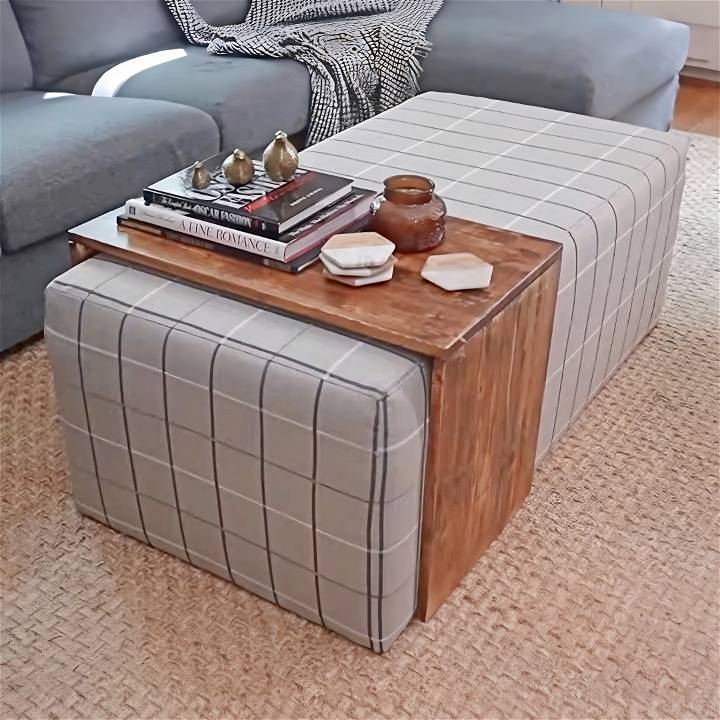
These ottomans seemed simple at first glance – just a box with some upholstery. Confident in my basic sewing and woodworking skills, I dived into fabric shopping online. My heart was set on a black and white windowpane pattern; it had to be white with black lines – a detail that proved pivotal. After some contemplation and a couple of sample orders, I settled on a tan fabric with gray stripes, aligning with my living room’s color palette.
Why Fabric First?
Choosing fabric first was crucial for two reasons:
- Inspiration: The fabric’s design and quality would significantly influence the overall look and feel of the project.
- Availability: Getting the right fabric could take time, so starting here ensured no delays in the project timeline.
Designing the Ottoman
With my fabric choice pinned down, the next step was to design the ottoman. I sketched a basic box structure, planning for a sturdy frame to support the upholstery. Materials included plywood for the base, 2x4s for the frame, and a half-inch foam for cushioning, topped with my chosen fabric. I ordered four yards of the fabric, optimistic that it would suffice.
Step by Step Instructions
Learn how to tackle sewing challenges, navigate the construction phase, and build your own coffee table with step-by-step instructions.
The Construction Phase
Armed with a cut list and plenty of coffee, I braved the saw and cut my lumber to size. I decided on a two-layer frame approach, ensuring the ottoman could withstand the weight of people sitting or resting their feet. Sanding down the pieces to avoid splinters, I assembled the box frame, anticipating the transformation ahead.
The focus then shifted to cutting plywood for the top and sides, followed by upholstering. I glued the foam to the top, ensuring no lumps, and stapled batting around the frame for a smooth, cushioned exterior. Precision was key, especially with the alignment of my windowpane fabric.
Sewing Challenges
Here’s where the rubber met the road, or rather, the needle met the fabric. Sewing isn’t everyone’s cup of tea, but trust me, it was just about sewing straight lines. The trickiest part? Ensuring the windowpane patterns aligned perfectly. Matching up the stripes with pins before sewing was a game-changer. It took time, patience, and a bit more coffee, but the result was a professionally upholstered look.
The Coffee Table Build
The coffee table design was straightforward: a sleek, simple table to complement the ottoman. Using 1×6 boards, I cut them to size, focusing on a compact design that would nestle snugly over the ottoman. Pocket holes kept the joinery neat and hidden. A dark stain followed by a protective coat of polycrylic gave it the final, refined look.
The Big Reveal
After hours of sawdust, sewing, and a fair bit of sweating, the project came together better than I had dared hope. The ottoman’s plush cushioning, covered in the elegant windowpane fabric, paired with the sleek coffee table, transformed my living room. All for $260, significantly less than store-bought options.
Reflections
This project wasn’t just about building furniture; it was about making a focal point in my living room that truly felt like mine. The process taught me patience and precision and reaffirmed the joy of bringing an idea to life. For anyone sitting on a DIY idea, I say go for it. With some planning, effort, and perhaps a few YouTube tutorials, you’ll be amazed at what you can build.
Styling and Placement Ideas for Your DIY Ottoman Coffee Table
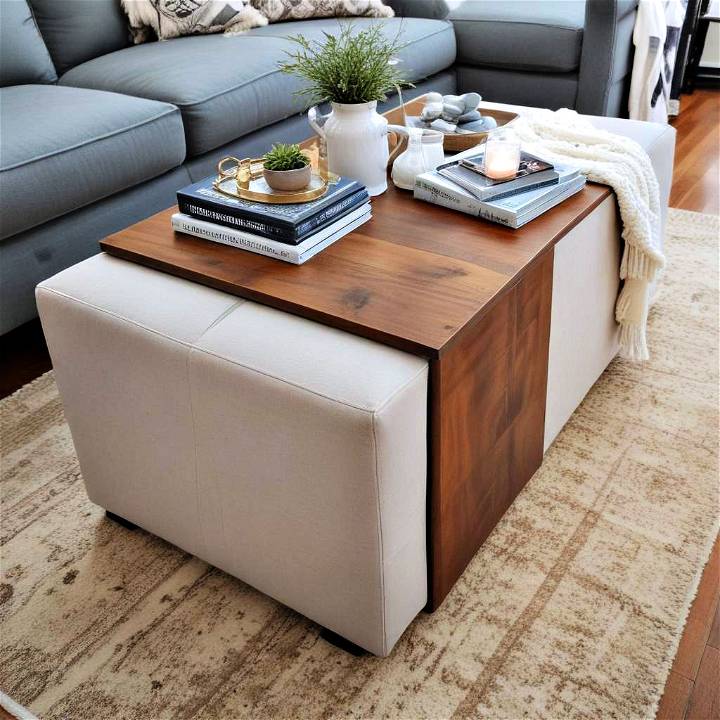
Making a DIY ottoman coffee table is not just about building a piece of furniture; it’s about crafting a versatile centerpiece that enhances your living space. Here’s how you can style and place your ottoman for maximum appeal and functionality.
In the Living Room
- Center of Attention: Place your ottoman coffee table in the middle of your living room to serve as a focal point. It’s not only a statement piece but also a practical one.
- Accessorize with a Tray: A stylish tray can hold decorative items like candles, vases, or books. This adds character to your room and keeps your ottoman organized.
- Soft Textures: Consider draping a soft throw blanket over one side of the ottoman. This invites comfort and adds a layer of texture to your decor.
As Extra Seating
- Pull Up a Seat: Your ottoman is perfect for those moments when you need extra seating. Whether it’s for a game night or a casual gathering, it provides a comfy spot for your guests.
- Pair with Accent Chairs: Position your ottoman near accent chairs to build an intimate seating area. This setup is ideal for relaxing and having conversations.
Storage Possibilities
- Hidden Functionality: If your ottoman has storage, use it to keep living room essentials out of sight but within reach. It’s perfect for storing blankets, remote controls, or magazines.
- Organize with Baskets: For ottomans without built-in storage, place baskets underneath. They’re great for organizing and adding an element of rustic charm.
By considering these styling and placement ideas, your DIY ottoman coffee table will not only be a testament to your craftsmanship but also a cherished and functional part of your home. Enjoy the process of making it your own!
FAQs About DIY Ottoman Coffee Tables
Making a DIY ottoman coffee table can be a rewarding project. Here are some common questions and straightforward answers to help you get started.
What materials do I need to make a DIY ottoman coffee table?
To make a DIY ottoman coffee table, you’ll need a sturdy base like an old coffee table or plywood, upholstery foam, batting, fabric, a staple gun, and optional decorative elements like buttons for tufting or legs for height. The exact materials may vary depending on the design and size of your ottoman.
How do I choose the right fabric for my ottoman?
Select a fabric that complements your room’s decor and is durable enough to withstand regular use. Upholstery fabric is a good choice because it’s designed for furniture and often has a higher thread count and tighter weave. Consider also if you want a pattern or a solid color, and remember that darker colors or patterns can help hide stains.
Can I add storage to my ottoman coffee table?
Yes, you can add storage to your ottoman coffee table. If you’re using an old coffee table as your base, you can attach a hinged top to build a storage compartment. For a from-scratch build, construct a box frame with a removable or hinged top. This is great for tucking away blankets, books, or remote controls.
Is it difficult to tuft an ottoman?
Tufting can be a bit challenging for beginners, but it’s definitely doable with some patience. You’ll need to mark where your buttons will go, drill holes, and then use a long needle and strong thread to pull the buttons tight against the foam and fabric. It builds a classic, elegant look and adds extra cushioning.
How can I make my DIY ottoman coffee table more durable?
To make your DIY ottoman coffee table more durable, consider using high-density foam and a sturdy base. Apply a protective fabric spray to guard against spills and stains. If you’re adding legs, ensure they’re securely attached and can support the weight of the ottoman and anything placed on it. Regular maintenance, like tightening screws and cleaning the fabric, will also help extend its life.
Conclusion:
Wrapping up this article, it’s clear that building a DIY ottoman coffee table can be a fun and rewarding project for any home decorator. By following these steps, you can transform your space with a stylish and personalized piece of furniture.


